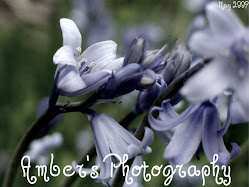
*taken with a Nikon D100*
(click to enlarge)


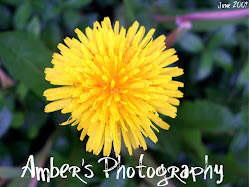
 *taken with a Nikon D100*
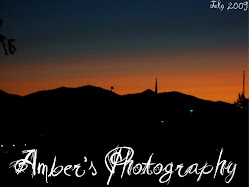


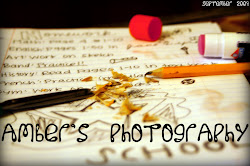
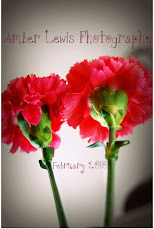
From the photoshoot preview, posted January 18.
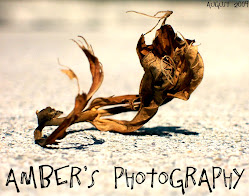
*taken with a Nikon D100*
(click to enlarge)

(coming Friday the twenty-second)
View favorite photos from this photoshoot on the twenty-second on this blog, or the entire photoshoot at http://www.amberlewisphotography.blogspot.com/.
 I started with this photo, opened in picnik.com. You can click the photos to enlarge them.
 I always start with Auto-fix. It enhances the colors and adjusts the contrast of the photo. If you don't like the effect, undo it!
 This is the photo after Auto-fix.
 I sharpened this photo next. Adjust the amount by dragging the square on the bar.
 This is the photo after sharpening it.
 Go to Create...
 ...and click on Effects.
 The first effect I added was Vignette. I adjusted the strength to what I thought looked best with the photo. You can change the color, the amount that shows (Fade), and the size, also.
 This is the photo after Vignette was used.
  I used Sepia next.
 I adjusted the amount of Sepia that would be used. You can also have the photo in only partial-sepia by using the paintbrush or eraser and holding down the mouse and dragging.
 This is the photo after Sepia was used.
 I used Boost to bring out her eyes. I used the paintbrush on and reversed the effect.
 Zoom in on the eyes...
 ...and color them in.
 This is the photo after I used the Boost effect on her eyes.
 I next used the Cross Process effect. I adjusted the amount shown using Fade.
 Through basic editing, I got this completed photo!
(Before)
 I'm going to start with this photo, opened in Picasa 3. You can click the photo to enlarge it.
 I always start with clicking "Auto Contrast". It automatically fixes the photo's exposure. Sometimes this doesn't give the desired effect. If it changes your photo in a way you don't like, try tuning the photo instead.
 This is the photo after I've used Auto Contrast. I took this photo through my car window, so you can see any smudges the glass had. You can also better see things on the lens. To get those out of the picture, click "Retouch".
 Re touching a photo gets rid of any imperfections it may have. To retouch,click the area you want fixed. Then, move the mouse to an alike area without a blemish. For example, if there is a spot on the sun in this picture that I want to get rid of, I would click the spot, then on another part of the sun.

 This is the final photo after I retouched everything.
 Because this photo was taken from a car, you can see part of the car in the window. And because the focal point in this photo is the sun, I want to draw attention away from the trees. To do this, click "Crop".
 To crop in Picasa, drag the square so the darkened portion of the picture is the part you want to keep. You can adjust the sides of the square by dragging each side or corner.
 I usually fix the lighting of the photo next. Click "Tuning".
 "Fill light"...
 "Highlights"...
 "Shadows".
 I adjusted the shadows first to bring out colors and draw attention to the sun...
 ...and then the highlights to make the picture brighter.
 I sharpened the photo next to show more of a contrast between the sky, the sun, the mountains, and the trees.